Getting Started with APKognito
If you haven't already, please make sure to download and install APKognito. You can find a quick guide in Installing APKognito.
Step 1: Navigating Windows SmartScreen
When you first run APKognito, Windows will likely display a security warning. This is called Windows SmartScreen.
About SmartScreen
SmartScreen is a common warning for new Free and Open-Source Software (FOSS). If you don't trust the app, it's always best to follow your gut and do not run it. Your security is important!
I make sure to attach a link to Virus Total with every release, so you can use that to assist your judgement.
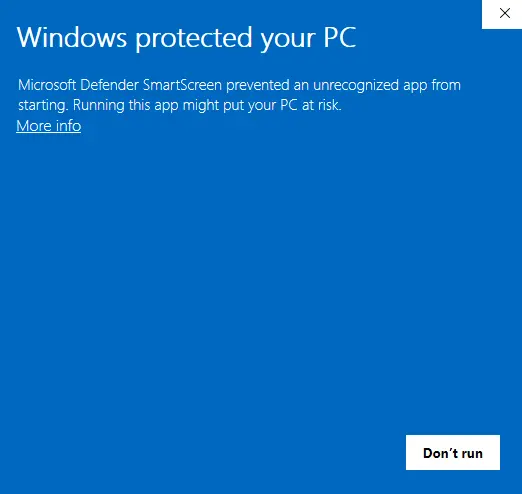
After clicking More info and Run anyway, APKognito will launch...
Just kidding!
I HAVE HACKEKD YOUR PC 👻!
...I'm kidding. (sorry)
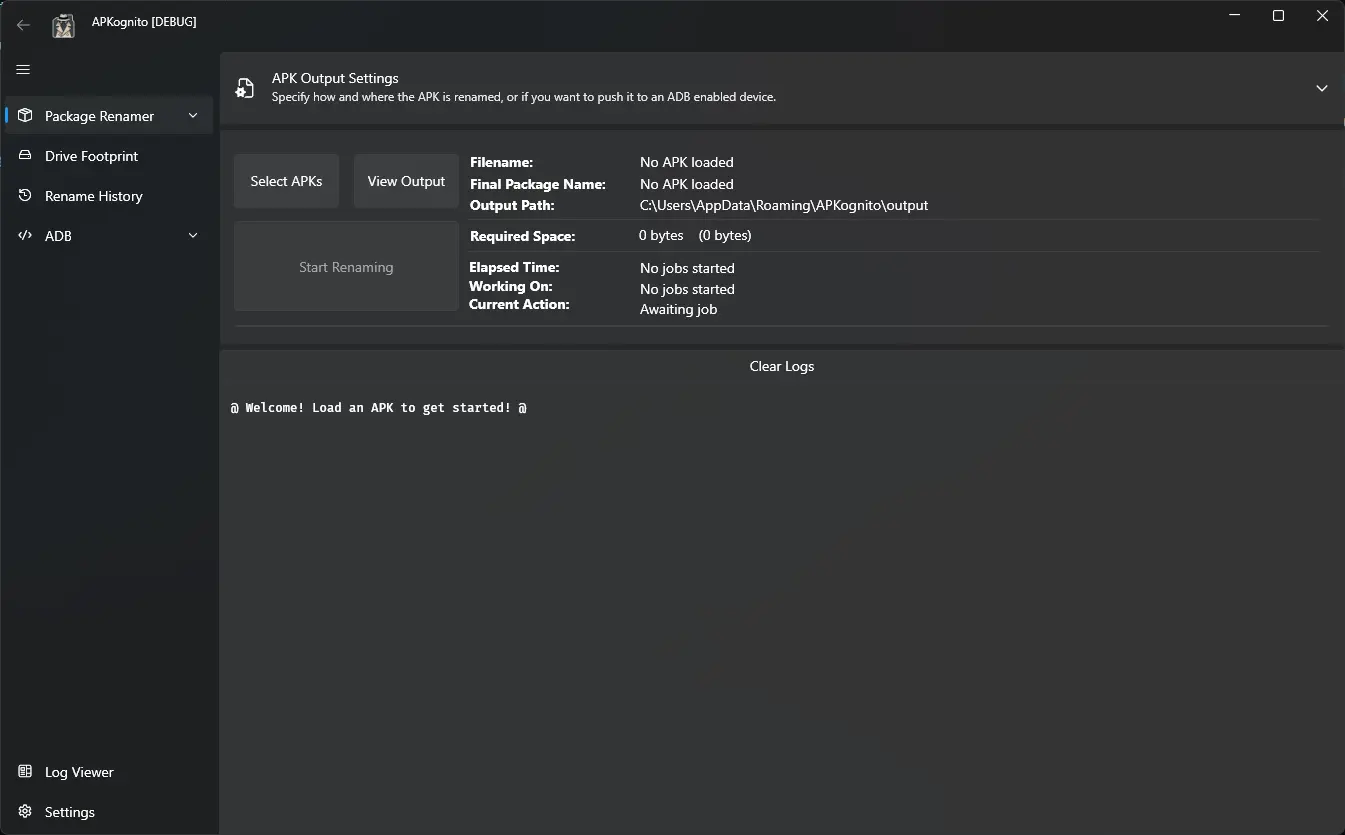
You should see a window that looks like this:
Step 2: Selecting Your Packages
To start, click the Select APKs button. This will open a File Explorer window. Navigate to and select the packages you want to rename.
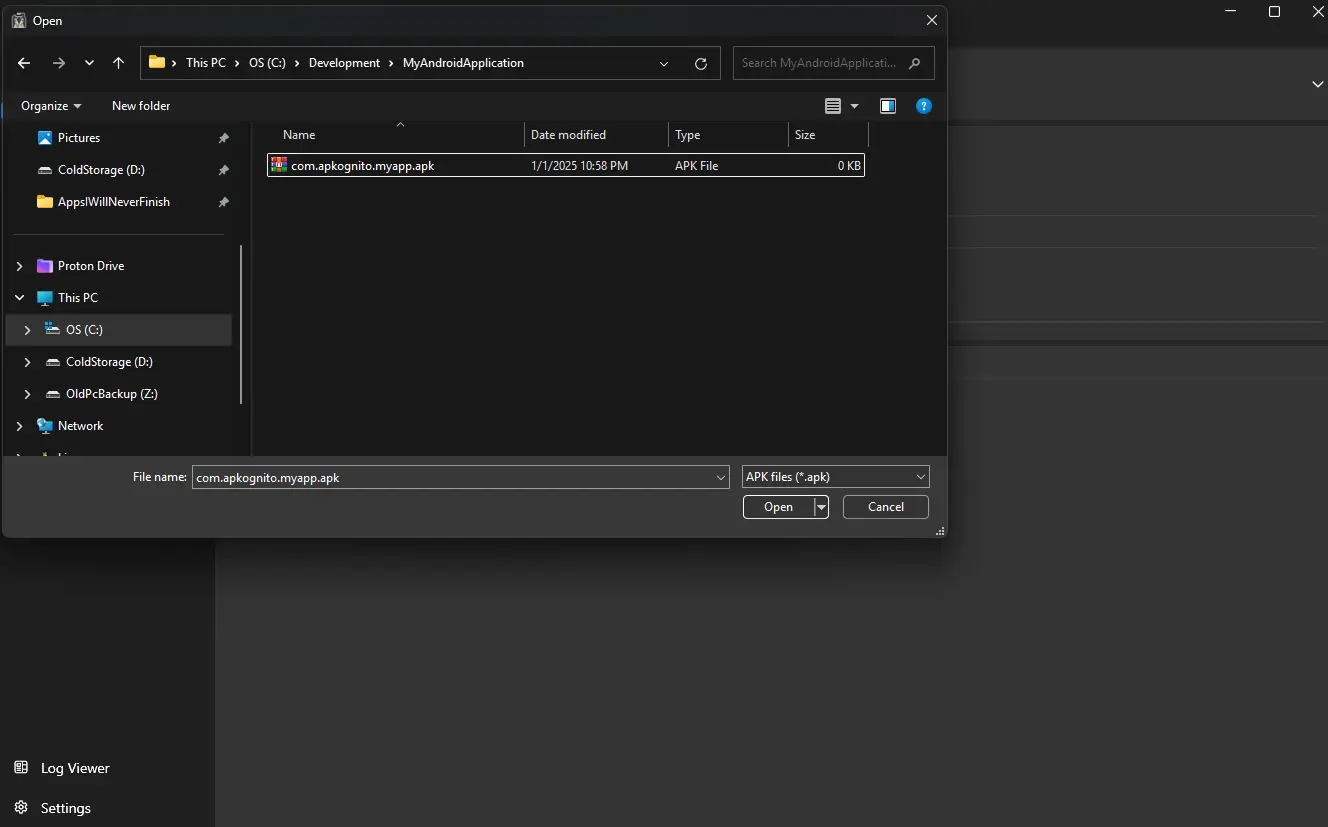
Batch Processing
APKognito is able to rename more than one package at once. You can select multiple files to process them in a batch.
Step 3: Configuring and Starting the Process
At this point, you can adjust any configurations to your liking, or simply proceed with the defaults.
By default, your output package name will be {prefix}.apkognito.{app name}.
Now, you're ready to start the renaming process. Click the Start Renaming button.
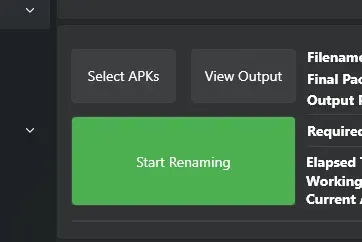
Tip
Click the big green button that says "Start Renaming" to start the renaming process.
- A Frustrated Developer
Step 4: Viewing the Output
All renamed packages are saved to the configured output directory, which defaults to %APPDATA%\APKognito\output.
Clicking the View Output button will open File Explorer directly to this location.
Conclusion
Congratulations! You have successfully used APKognito to rename your first package.
- To learn more, use the navigation menu on the left to explore other articles.
- Ready for more? Dive into advanced topics like advanced configuration.